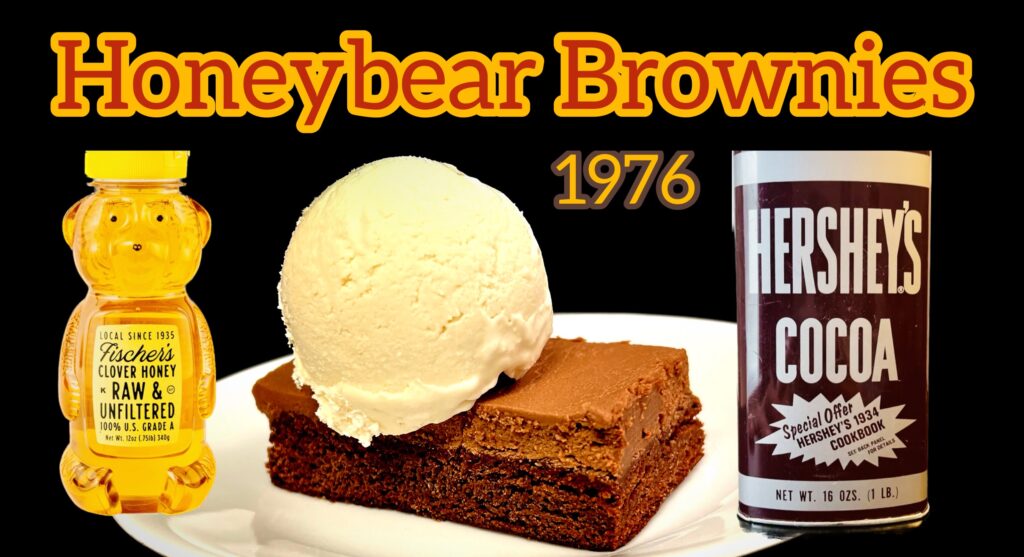


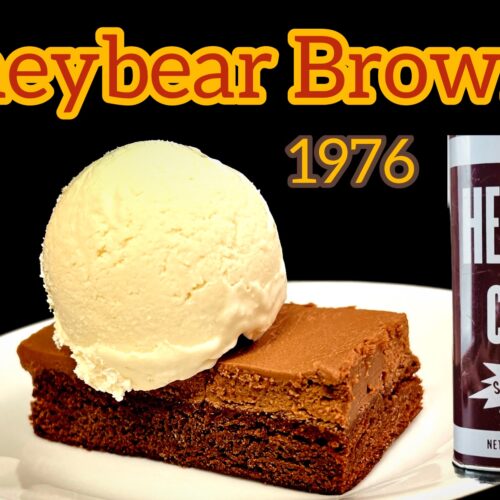
Hershey's Honeybear Brownies
Such a treat! Try this recipe from 1976! The honey will surprise you!
Ingredients
Brownies:
- 1/3 c. butter, softened
- 3/4 c. sugar
- 1/2 c. honey
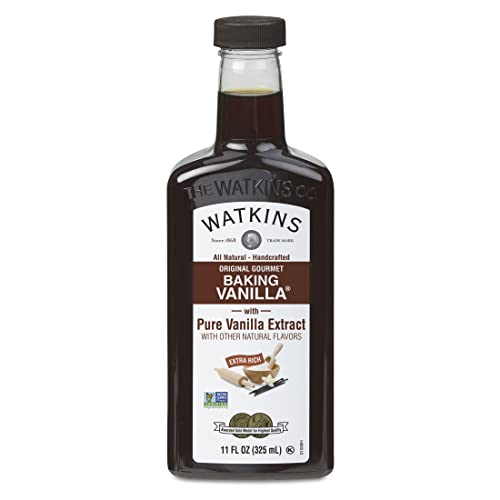
- 2 tsp. vanilla
- 2 large eggs
- 1/2 c. flour
- 1/3 c. cocoa
- 1/2 tsp. salt
- 1 c. chopped nuts (optional)
Chocolate Frosting:
- 6 Tbsp. unsalted butter, softened
- 1/8 tsp. salt (omit if using salted butter)
- 1 tsp. vanilla
- 3 Tbsp. half & half
- 1/4 c. cocoa powder
- 3 c. powdered sugar
Instructions
For the Brownies:
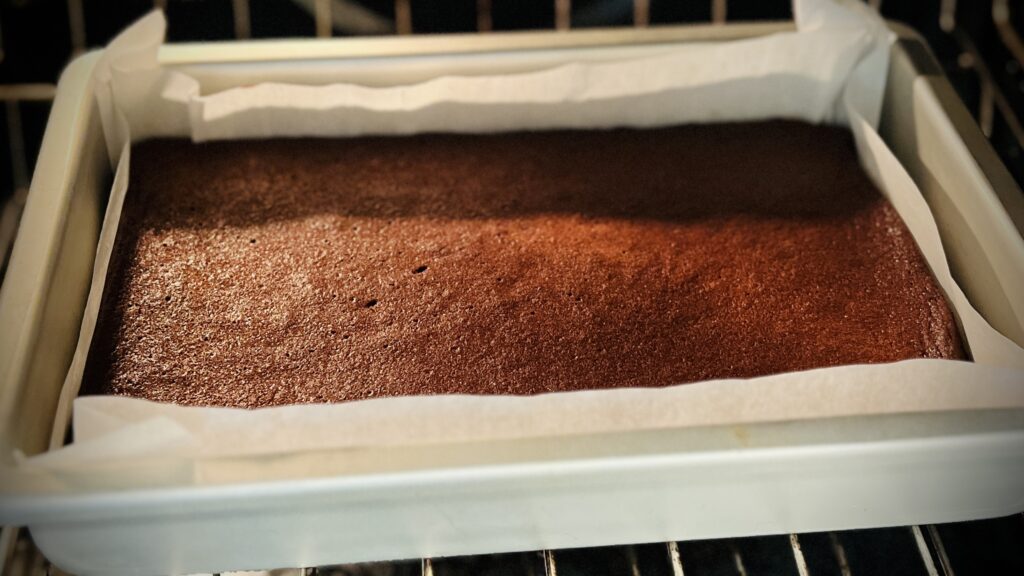
- Preheat oven to 350 degrees. Line a 9x9 or 7x11 pan with parchment. Lightly butter the parchment. Set aside. (If you don't have parchment, just butter and flour the pan, or butter the pan and lightly dust with cocoa, or use nonstick spray.)
- In a mixing bowl, cream butter and sugar. Add honey and vanilla and mix well. Add eggs and beat until fully combined. Sift in dry ingredients and stir until just combined. (If adding nuts, stir in now.)
- Pour into prepared pan and spread evenly. Bake at 350 degrees until a toothpick comes out clean and brownies start to pull away from the sides of the pan. The old Hershey's cocoa tin says to bake between 25 to 30 minutes. Mine baked right at 28 minutes. All ovens are different, so just keep check. Try not to over bake. Allow to cool, and make the frosting.
For the Frosting:
- In a mixing bowl, combine the butter, salt, vanilla, half and half, and cocoa. Gradually increase speed when mixing. Mix until glossy.
- Add powdered sugar. Start the mixer on low speed until crumbles form. (Icing will look too dry, but keep mixing.) Increase the speed, and mix until frosting becomes thick and creamy. This is a thick and creamy textured frosting.
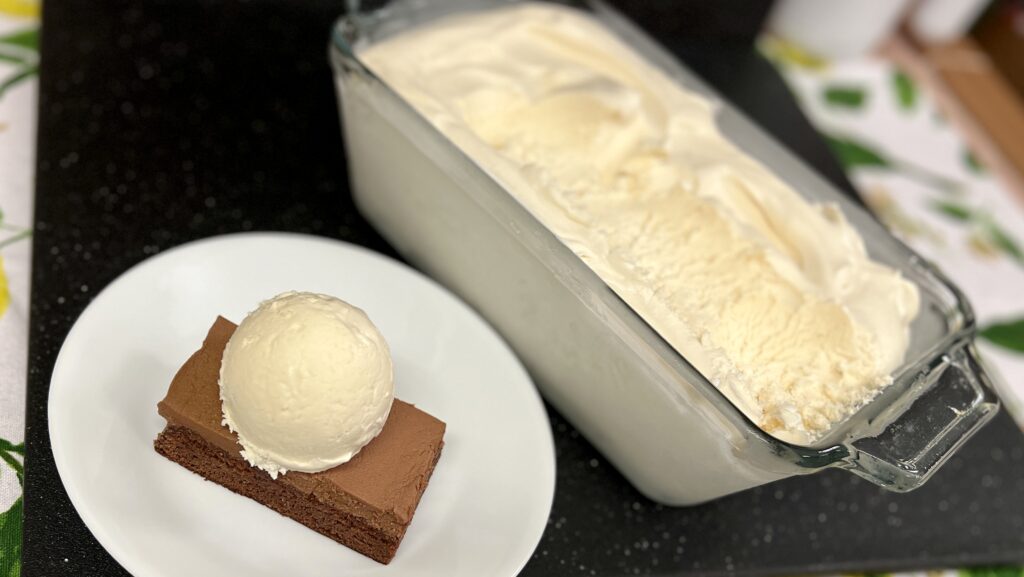
- When brownies have cooled completely, spread the frosting on top and enjoy! This is the perfect brownie served with a big scoop of vanilla ice cream. (See my recipe for easy homemade vanilla ice cream.)
Kudos for finding this recipe! I made these a few times when I was in college but failed to keep the recipe. Searched all over the internet with no luck until now.
Thanks so much for posting. Looking forward to making them again. They were delicious 😋
Thanks, Jenny! I was so glad to finally find it! I had looked for years in cookbooks for brownies made with honey like my Mom had described, so when I ran across the old Hershey’s tin with the recipe on the side, we were so happy! Let me know when you make some. Happy baking!